It took me three days to properly thread the sewing machine. My mom always encouraged, “You will get it, just keep practicing.” slowly, my eyes and hands got used to this process. Sooner, it took me only a few seconds to do the same.
Threading a sewing machine’s needle is quite easy. Do not panic if you won’t thread it properly for the first time. This happens all the time with beginners.
So, I have given right steps to threads a sewing machine needle. If you are also facing issues doing the same, I am confident you will master this skill. This guide can help you.
Let’s get started.
5 Steps To Thread A Sewing Machine Needle:
This is similar to hand sewing. In both, we have to pass the thread through the needle eye. For the sewing machine, we need to follow some more steps, such as:
1. Raise The Needle and Foot:
For a domestic manual machine, rotate the handwheel. This will lift the needle upwards.
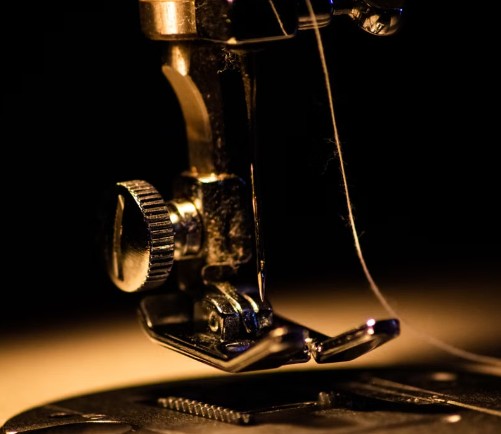
You also have to lift the pressor foot to lower the tension. Ensure that the needle and pressor foot are as high as possible.
Important tip: Always set the right-sized needle for the thread size you are using. Otherwise, it will not pass through the eye.
2. Turn Off The Machine:
If the power is on, there is a chance of accidental stitches. So, if you have an automatic machine, turn off the switch.
So, even if you touch any button while threading the needle, nothing injurious will happen.
3. Follow The Machine’s Thread Path:
Now, we have to pass the thread through the thread guides. Many modern machines have numbered thread paths. It makes it easy for beginners to pass the thread through these guides.
- Once you select the thread color, put that spool in the spool pin. Pass the thread through the metal hook at the top. It is the top thread guide.

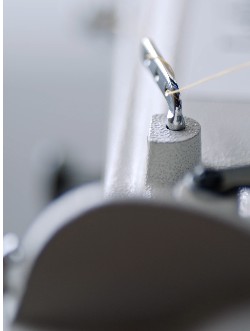
- Now, we have to pass it through the tension disc path. Guide it downwards at the right-hand channel. You will find it at the bottom of the machine’s body. Then, take the thread upwards through the left-sided channel.

- Then pass it through the take-up lever’s eye. After successfully passing the thread, the lever clicks usually from right to left.

- Now, locate the left channel at the bottom. Pass the thread through it backwards.
- Final thread guides are located just above the needle. Pass the thread through them.

4. Thread The Needle’s Eye:
Always thread the needle from front to back.
In my early days, I used to keep a white paper behind the needle. So, I could see the thread properly.
Gently pass the thread through the needle’s eye.
Always cut the thread diagonally. This cut should be sharp at a 45-degree angle.
5. Place The Thread Under the Pressor Foot:
Now it’s time to secure the thread. If you don’t lift the pressor foot, it will jam the thread due to wrong thread tension.
Pull the thread gently from the needle’s eye. You will need 2 inches more.
Pass it under the lifted pressor foot. Pass it outwards to the backside. Leave the thread tail of 3-4 inches.
Key Takeaways:
If you follow all the steps in this guide, you will be able to thread the sewing machine needle like a pro soon!
Remember not to skip practicing these steps if you want to reduce the threading time. Don’t be overwhelmed. It is much easier than you feel as a beginner.
FAQs:
1. What To Do If My Sewing Machine’s Needle Keeps Unthreading?
I suggest to pull at least 4 to 6 inches of sewing thread through the needle’s eye. Hold onto it when you start to sew.
Another way is to catch the bobbin thread before you start to sew. To do it, turn the handwheel to your side for a full rotation (cycle). A loop of thread will come up. Pull it gently. It prevents the top thread from withdrawing
2. In Which Direction Do I Need To Pass The Thread Through The Sewing Machine’s Needle?
If you have a modern machine, pass the tthread from front to back in a needle hole. I have seen many old sewing machines, where thread passes from side to side in the needle.